
How to Install a Doorbell
A straightforward doorbell installation guide covering the basic hardware, wiring flow, and the checks to make before you power the system back on.
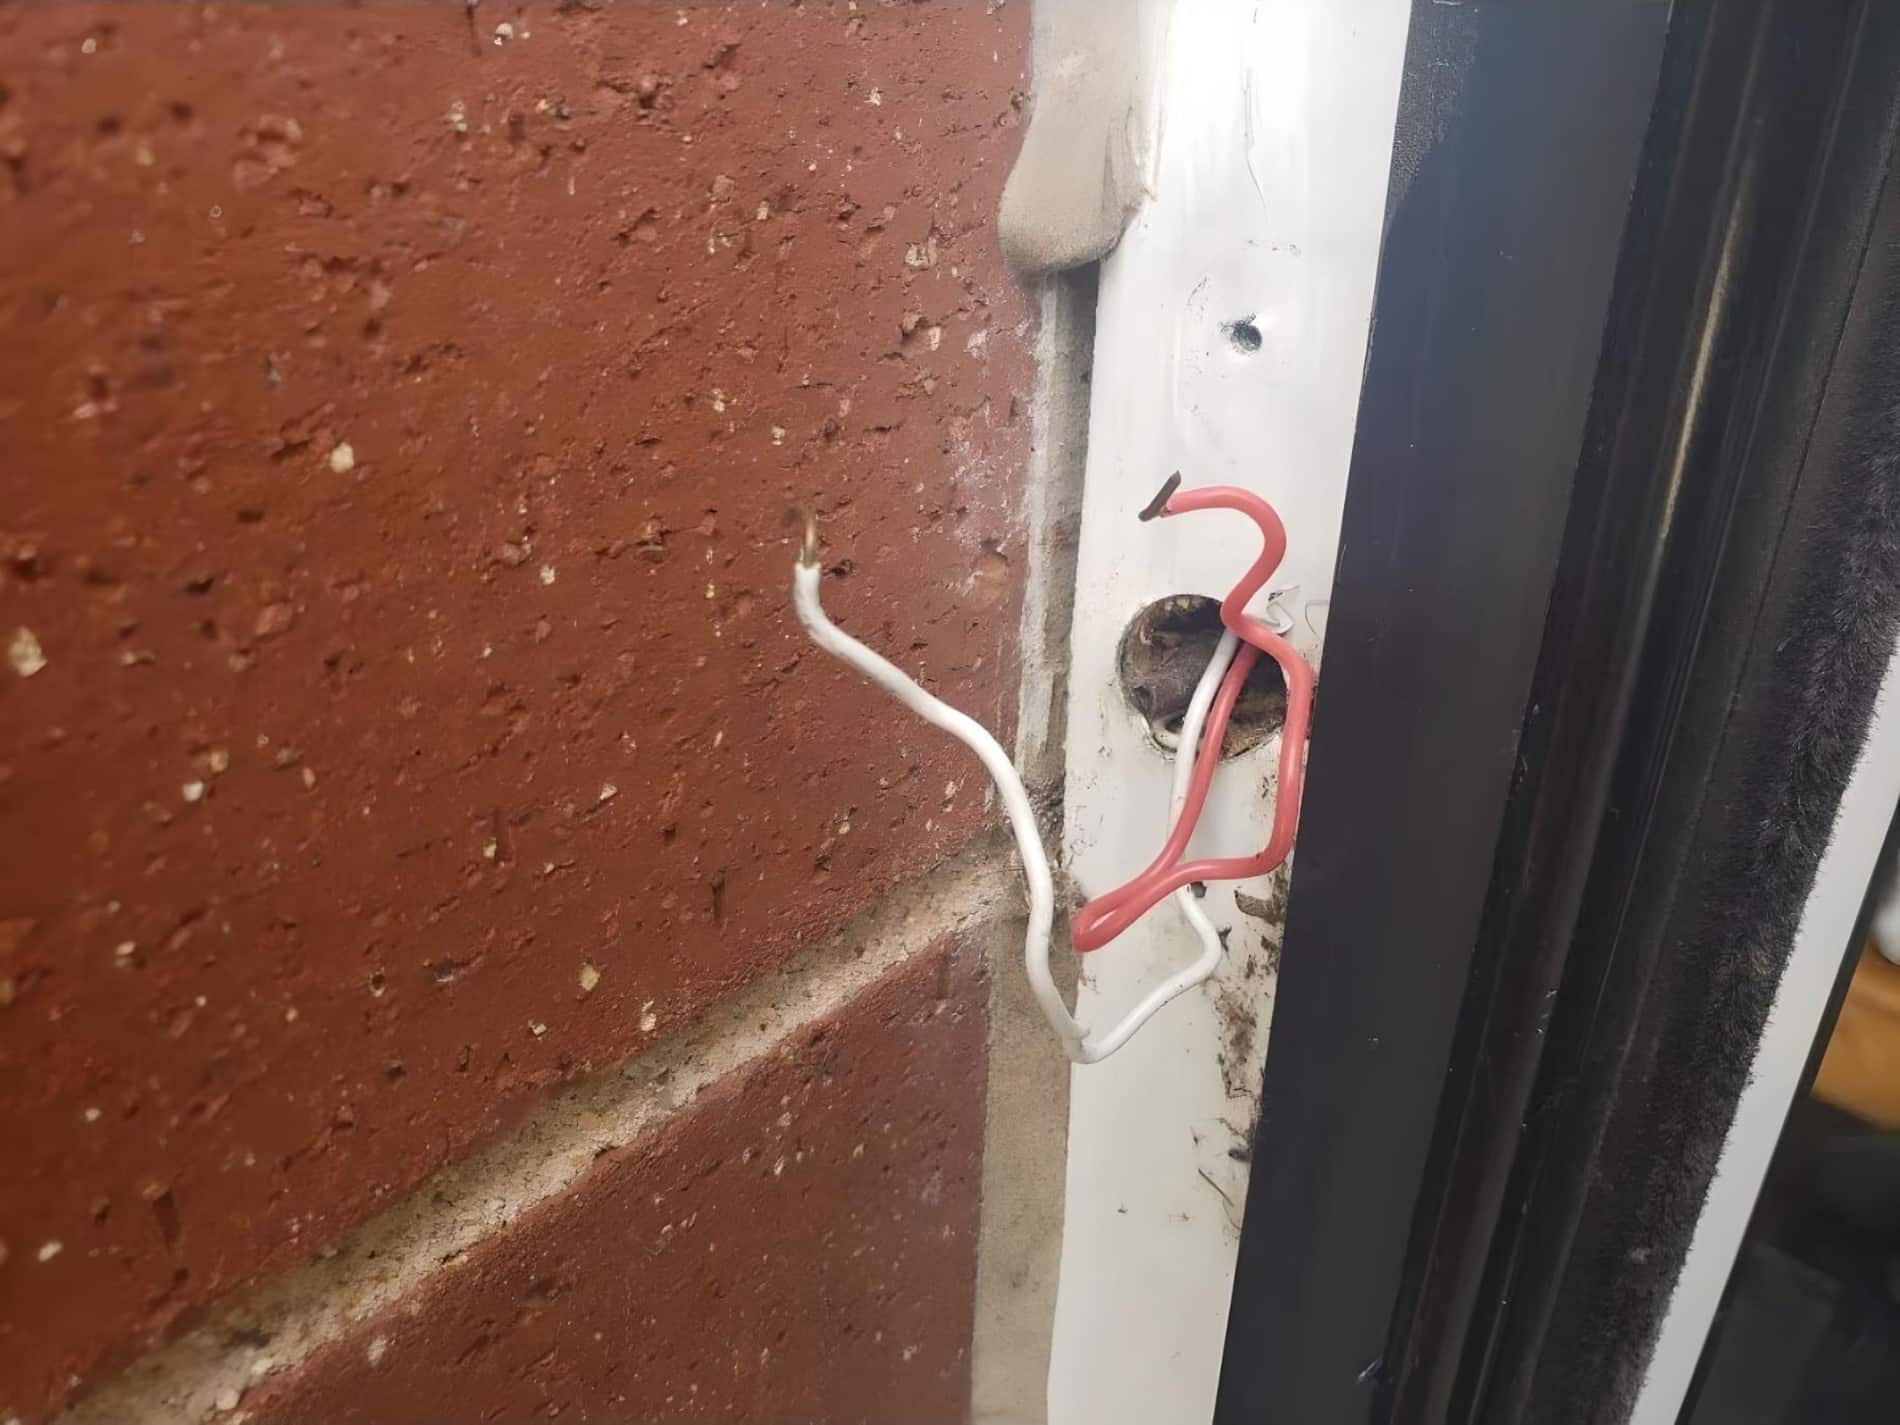
DIY doorbell repairs
Use this guide to narrow the problem before you replace parts. Most wired and wireless doorbell issues come back to the push button, transformer, chime, receiver, or a basic compatibility mismatch.
On This Page
Related Categories And Products
What you need before you start
A basic doorbell installation usually includes a transformer, low-voltage wire, a push button, and an indoor chime. Before buying anything, decide whether you are replacing an existing hardwired setup or adding a new system where no doorbell wiring is in place yet. This page is a short overview to help you pick the right path. For the full wired walkthrough, see our step-by-step wired doorbell installation guide; for battery-powered kits, see how to install a wireless doorbell.
For wired doorbells
- Shut off power before opening the transformer or any nearby electrical box.
- Confirm the transformer voltage is appropriate for the chime or button you plan to use.
- Mount the wired doorbell button near the entry door.
- Run or reuse low-voltage wire between the button, transformer, and indoor chime.
- Connect the chime terminals as labeled and restore power for testing.
For wireless doorbells
Wireless doorbells are simpler because there is no low-voltage wire between the button and receiver. You mount the transmitter at the door, place the receiver where you need to hear it, and pair the two units if the system requires it. If you are comparing options, start with the wireless doorbell category.
Common mistakes to avoid
- Reusing an older transformer that does not provide enough VA
- Choosing a button footprint that will not cover the old opening cleanly
- Installing a wireless receiver too far away before testing signal strength
- Replacing the chime before checking the button and transformer first
Good next steps
If you are working with an existing hardwired system, compare the wired doorbell category and the transformer category. If you want the simplest retrofit, compare the wireless doorbell options instead.