
How to Replace a Doorbell Button
A repair guide for diagnosing and replacing a wired doorbell button, including footprint, wiring, and transformer checks before you buy parts.
DIY doorbell repairs
Use this guide to narrow the problem before you replace parts. Most wired and wireless doorbell issues come back to the push button, transformer, chime, receiver, or a basic compatibility mismatch.
On This Page
Related Categories And Products
When the button is the real problem
A failed doorbell button is one of the most common reasons a wired doorbell stops working. If pressing the button produces nothing, works only sometimes, or feels physically stuck, start there before replacing the chime.
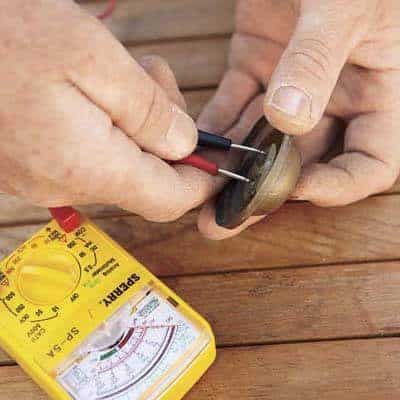
How to diagnose the button
- Check whether the button is loose, corroded, cracked, or sticking in the pressed position
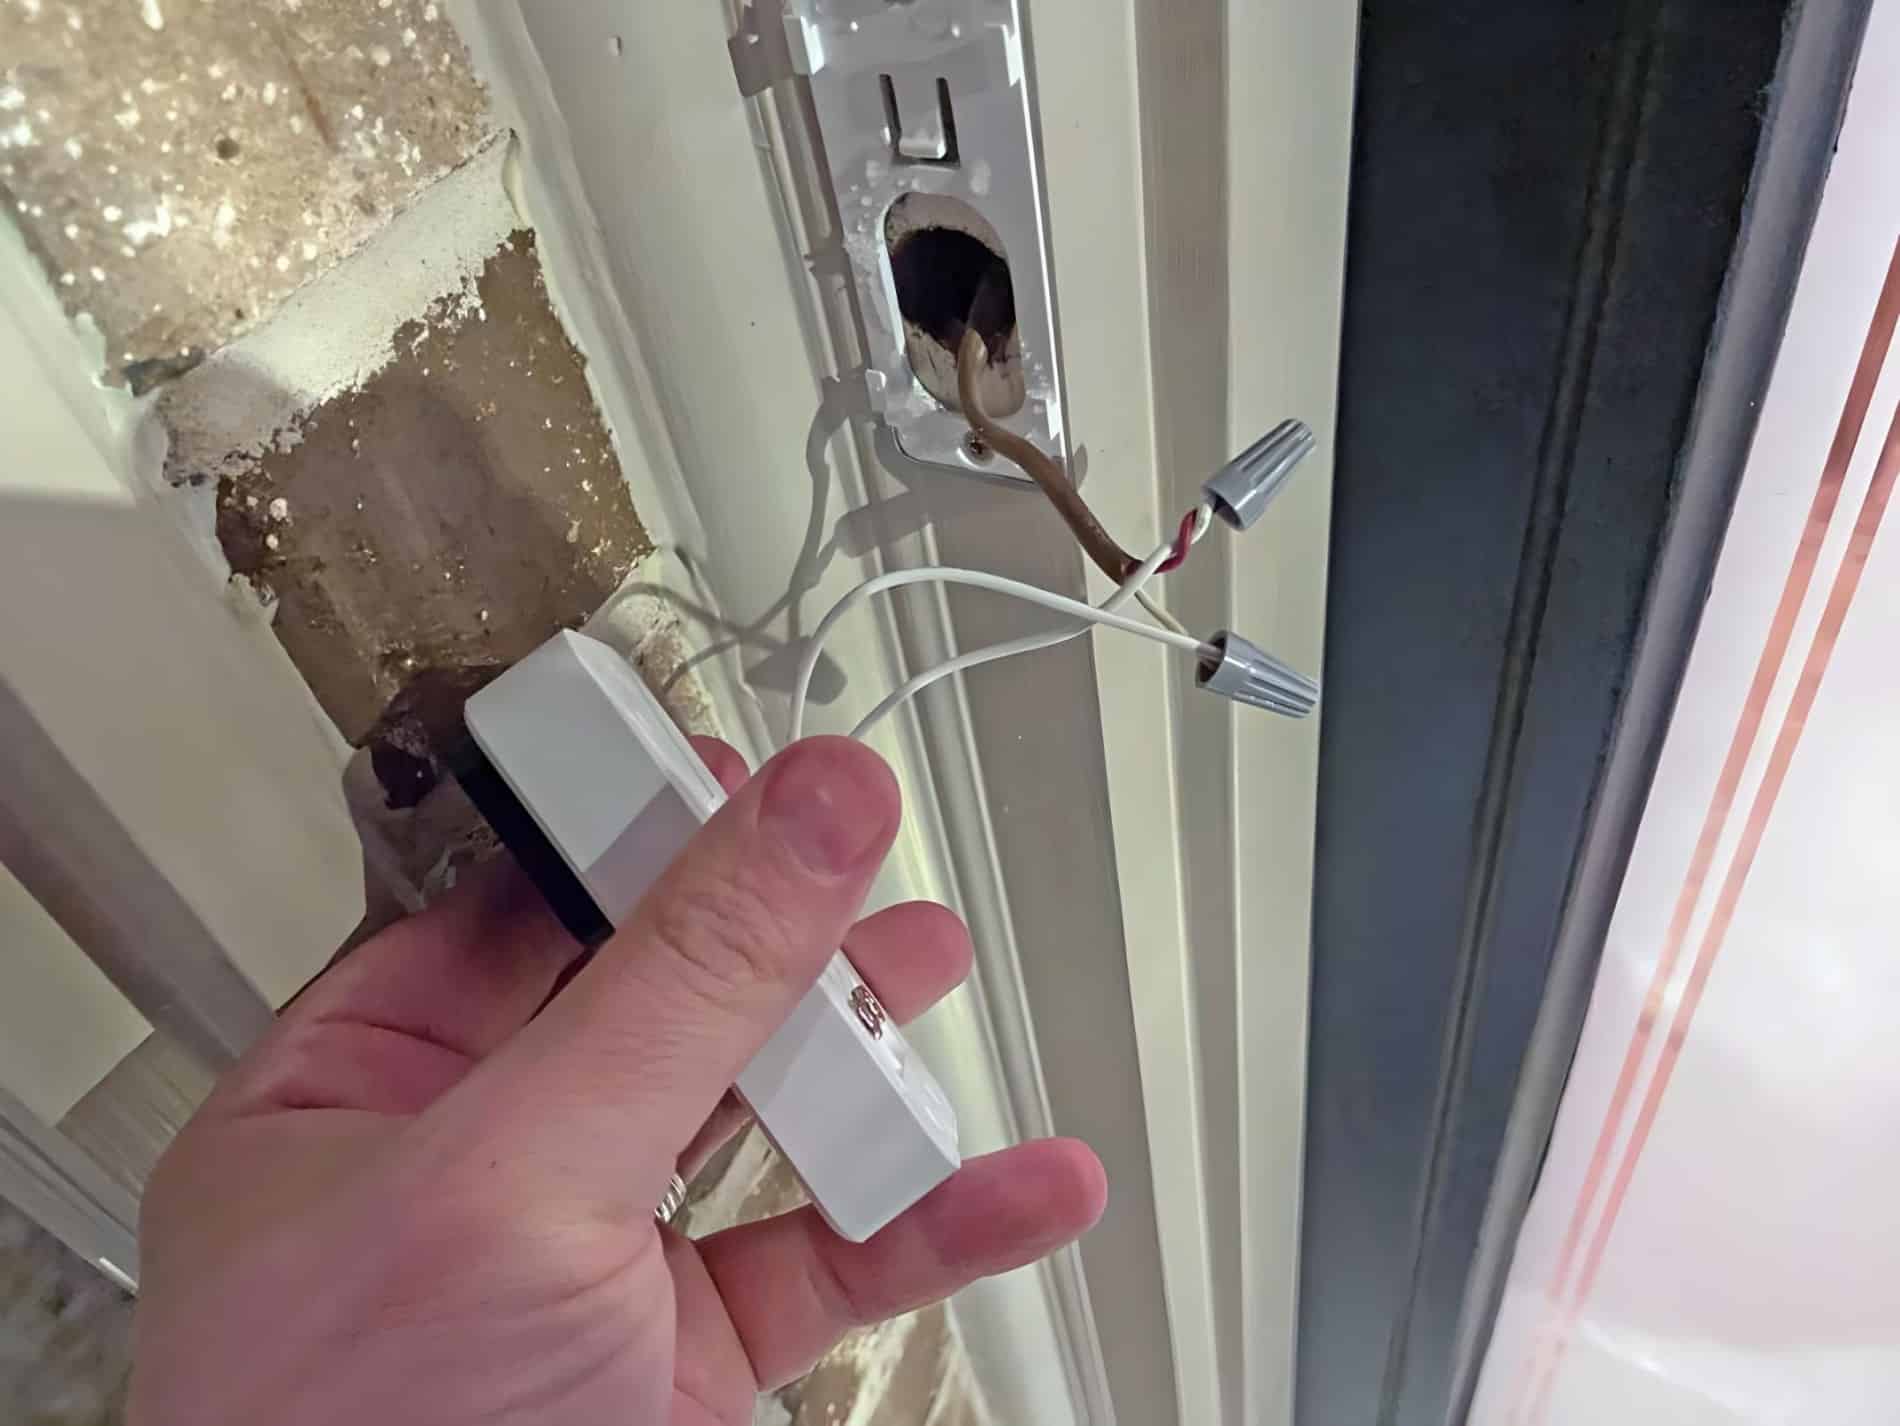
- Inspect the low-voltage wires behind the button for corrosion or broken conductors
- If the button is lighted, note whether the lamp has gone dark after years of use
- Confirm the transformer still has output before assuming the button is the only failed part
 doorbell button" loading="lazy" />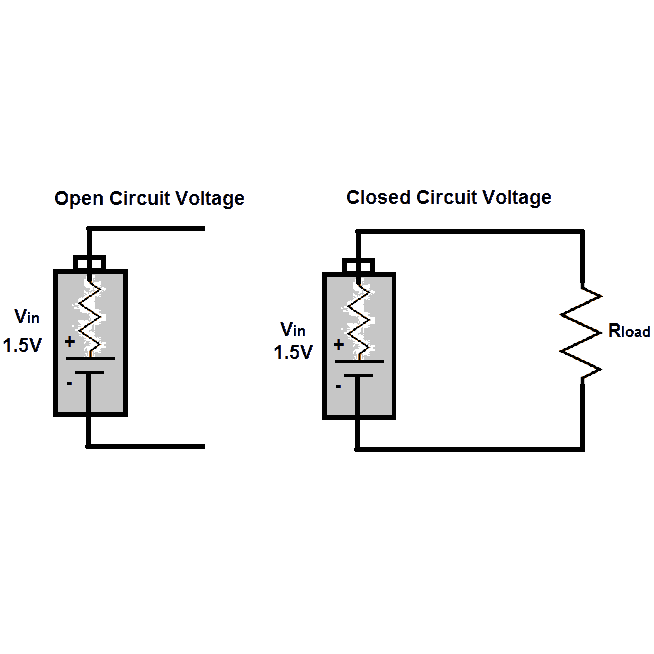
Replacing a wired doorbell button
- Shut off power to the transformer circuit.
- Remove the old button carefully so the low-voltage wires do not slip back into the wall.
- Compare the old footprint to the replacement plate size.
- Attach the two low-voltage wires to the new button terminals.
- Mount the new button and restore power for testing.
Choosing the right replacement
The two most common mistakes are choosing the wrong style and choosing a button that does not cover the old opening. Start with the wired button category, then narrow by mounting style, face size, lighted versus non-lighted, and finish.
Check the transformer too
If a new button still does not solve the issue, test the transformer. A worn transformer can cause weak, intermittent, or completely dead operation. Compare replacement options in the doorbell transformer category if needed.